Search This Blog

Friday, September 7, 2018

Simple printing to learn line directionThis is a simple printing project that helps you very young students learn line direction: horizontal vertical and diagonal. It also helps assess if students are able to recognize and create a pattern using lines. This project is the first part of a unit of printing with the cardboard strips. There are

Kindergarteners "built" their houses by printing lines from cardboard strips. Students were encouraged to make houses like the ones seen around their neighborhood.  Students then were taught techniques to color in neatly and completely. Students were encouraged to color in as neatly and completely as they could.


Simple printing to learn line direction this is a simple printing project that helps you very young students learn line direction: horizontal vertical and diagonal. It also helps assess if students are able to recognize and create a pattern using lines. This project is the first part of a unit of printing with the cardboard strips.


Winter Landscapes

Winter is upon us and I know that you are looking for a good winter landscape projects for your kiddos.   Here are some great projects that will look great and sell well on Artsonia.

In this winter landscape, students learned how to make a value study while creating a serine moonlight sky. They then learned about silhouettes and created the silhouettes of evergreen trees and a winter cabin. Lastly, students used blue chalk pastels to create shadows.


NATIONAL ART STANDARDS© 2014 SEADAE. All rights reserved.
VA:Cr1.2.5a - Identify and demonstrate diverse methods of artistic investigation to choose an approach for beginning a work of art.
VA:Cr2.1.5a - Experiment and develop skills in multiple art-making techniques and approaches through practice.
VA:Cr2.2.5a - Demonstrate quality craftsmanship through care for and use of materials, tools, and equipment.
VA:Cr2.1.6a - Demonstrate openness in trying new ideas, materials, methods, and approaches in making works of art and design.
VA:Pr5.1.6a - Individually or collaboratively, develop a visual plan for displaying works of art, analyzing exhibit space, the needs of the viewer, and the layout of the exhibit.
VA:Pr6.1.6a - Assess, explain, and provide evidence of how museums or other venues reflect history and values of a community.
VA:Re7.2.6a - Analyze ways that visual components and cultural associations suggested by images influence ideas, emotions, and actions.
taught by Beth Koon

Materials
Blue tempera
White  tempera
12x9 white 80lb paper
12x6 white construction paper
3x4 black construction paper
blue chalk pastels

Wednesday, September 30, 2015

Vector Drawing


  • Vector drawing is a type of drawing for the computer that uses shapes, rather than lines to create images.  
  • This is the primary type of drawing now used for graphic and industrial design because it can be resized without losing resolution. 
  • We need to teach this type of drawing now for because it is what are students will need in the future. 
  • See Below for a complete Google Slides Introduction/Lesson and video instructions introducing vector drawing.   
  • The IOS app that I used in the video is InkPad which was free at the time and now cost $1.00.  You can also use MyDesigner which is virtually identical, instead of InkPad. 


Sunday, April 19, 2015

Upgraded iPad lesson

Tar Beach by Faith Ringgold 


Her is a great lesson that I have upgraded using iPads in my school. Each of my students has their own iPad so this lesson works very well.   I've adopted this lesson from a traditional tar beach drawing lesson. I've use the iPad as a light board.

Materials needed
iPads with Google Map App installed
Tar Beach by Faith Ringgold
12 x 12 drawing paper with 2 inch borders
pencils
colored pencils
masking tape
a towel or piece of cloth
scraps of fabric
bottled glue

Friday, March 13, 2015

Why and How I flip my Art Class


This month I was asked by The Art of Ed  if I could share some insight on how and why I have flipped my classroom.  As you well know from reading this blog and/or visiting my YouTube page I have a lot to say about the subject.  This interview provides some basic insight and tip if you are interested in doing the same.   Thank you Johanna Russell for this wonderful opportunity to work with The Art of Ed.

Tuesday, February 17, 2015

Turn old markers into new water color paint - by Beth Koon


Over course the year as the markets run out students can collect markers in a marker recycling box.  When the box gets full have students sort out the markers into similar colors.  Once you have about 20 or 30 markers of the same color you can start extracting the ink for the markers and turn it into liquid watercolors.  Brand-name does not really matter so long as they are pretty much the same color.

Using a pair of pliers pop off at the back of the marker


I use a weaving needle and poke it into the foam middle part of the marker to pull it out. You could also use a clay needle tool or take it out with pliers; whatever works for you, works.

Once again use your pliers and pull out the tip.  For most colors you are able to use the tip, however I have found that with yellow the color is too light and is mixed with other colors so most of the tips are not able to be used. Also if the marker is too old the tip will just crumble so don't worry about getting those.


Once you've extracted all of the cores of marker, rubber band them together. Then slipped a craft stick underneath the rubber band so that it will suspend in your cup of water.


The cores must be suspend in the water. If the cores are submerged in the water then the water will not draw the ink out.

I use jars from Country Time Lemonade powder mix but you can probably use any cup that will accommodate approximately 20 ounces of water.

Be sure to run cold water over the marker cores into an empty cup this will help to push some of the ink down and out.

Place the tips in a baby food jar full of water.


Leave the cores and tips to soak in the water for about a day and a half. Be sure to squeeze the cores out to get the last bit of concentrated ink out.  This will get ink all of your hands so if you don't want ink stains on your hands, use gloves.


I typically end up with 2 to 4 L worth of liquid watercolors every year. See below for examples of what the paint looks like when used by students.  


Sophia 4th grade 

Elijah 4th grade

Libby 2nd grade


Macallister 2nd Grade


Monday, February 16, 2015

A Playlist of One Day Projects

For those days when you need an emergency sub or just one extra project for a class that gets ahead of the other sections here are some simple one hour long projects for elementary.

Remember you can see all my video on my YouTube Channel at TheAwesomeArts

Wednesday, September 24, 2014

First day of kindergarten

The first week of kindergarten is always a difficult week to teach an art. I like to start off nice and easy with a simple marker project. It is amazing the wide variety of skill level we have entering kindergarten. Student skill level can be everything from not ever having held in crayon or a marker before to being little master artist. This project helps the teacher learn the names of the kindergarten students and also to assess their abilities as they are entering school.  Once the students are done I go around and take the picture of them holding up their name tags that they've created. I then use this to help learn their names as I take role throughout the year.

Materials:
Pre-print name tags
Markers
A camera to take the students pictures

Time for lesson:  30 minutes


Monday, May 7, 2012

Welcome 32,000 BC! 

 I am so excited about this new art experience I just created for my students.  I brought in an exhibition about cave art from teachersdiscovery.com so that the whole school can be taught a unit about prehistoric art.  I wanted the kids to really experience rock art the way that it is meant to be experienced, the way that the artist originally painted the art.  That is to say, not on a flat surface, and in a cave.

 Here is how I made a cave for my students.  Starting at the art room door I hung sheets from the ceiling using clothes pins and string, to basically make I giant sheet tent.  (kind of like at home when my kids and I need to make a fort).  Then I put a digital projector on the floor in the back of the rectangular tent and angled it up to project on the walls and ceiling on the tent.  the uneven surface of the sheets clothe-pinned together was very effective.  I found that the structure of the tent needed to be wider towards the back so that there weren't big shadows cast.  There is an awesome website that is a virtual tour of Lascaux.  [Note: on PC computer the F11 key will hide the Internet tool bar, making the virtual experience even cooler] The virtual tour only lasts about 10 minutes and that's if you click and explore all of the different images available.  To make the experience last I put together a slide show of prehistoric art from around the world, which lasts about another 15 minutes.  This has been a great end of the year activity.  Next week I'm going to line the halls with crumpled up butcher paper and let the kids make drawings using charcoal and chalk pastels, then they can sign there art with a hand print.  That way I can take down and pass back all of the artwork, without leaving the walls of the school hallways bare for the last 2 weeks of the year.


Wednesday, April 11, 2012

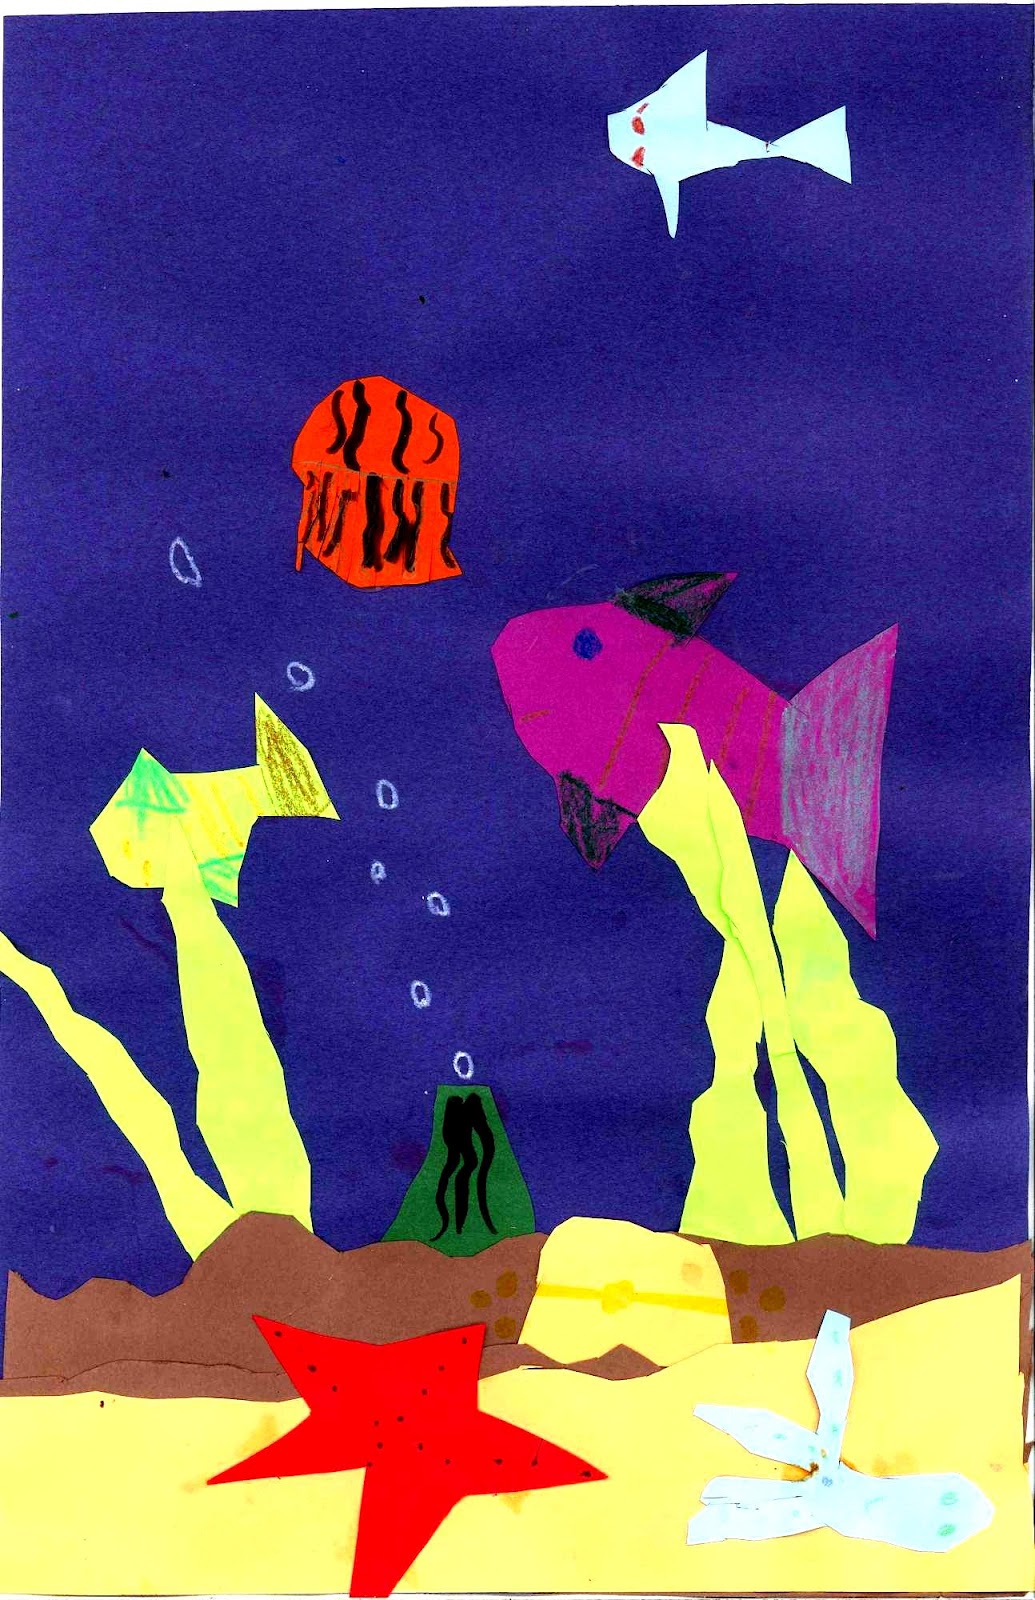
Cut Paper Ocean Envroment

After learning about the art work of Wyland students make there own under the sea scenes. While doing this, students are learning about overlapping, tucking, foreground, middle-ground and background.

Materials Needed

• Glue
• Scissors
• 12x18 blue construction paper
• Construction paper scrapes
• Crayons

Student Examples

Tuesday, April 10, 2012

Abstract Expressionist Sculptures

Materials Needed
  • 2 pecies of white construction paper
  • Watercolors or Temprea Cakes (and cups and bushes)
  • Liquid Glue
  • Paper clips

Winter Project: Cup of CoCoa

Students will use a verity of lines and shape patterns to decorate a paper coffee mug. Students will learn about landscapes. They will then practice their cutting and gluing skills to assemble their artwork.
---Materials Needed Coffee Cup template
Window template
markers
crayons
6x12 fabric scrape for table cloth
1x5 strips of fabric for curtains
12x18 construction paper

Student Examples

Aboriginal Bark Drawings (perfect low budget project)

Materials Needed:
  • Brown Paper: 
    • You can use paper sacks, cheap brown roll paper, or even construction paper, but I'm not a fan of construction paper for this project.
  • Pencils
  • Markers
Student Examples:


Native American Pottery Drawings


  Student will learn about the Southwest Native American Pottery and create paper pots that look 3-D. See more info for list of materials
**Note***
I suggest stopping the video at the Next Step Chapter for the first session and then showing the second chapter during the next class session.
---Materials Needed----
  • a verity of size and shades of brown construction paper
  • a 12x8 piece of paper
  • brown, white and black colored pencils
  • #2 pencil
  • scissors
  • glue stick
Student Examples:


Dreaming with Miro

I did this with 2nd Grade but it could be use grades 2nd-7th
Materials Needed:
  • pencil
  • sharpies
  • crayons
  • watercolors or tempera cakes (not liquid tempera)
Student Examples: